
HUAWEI Push Kit is a messaging service provided for you. It establishes a messaging channel from the cloud to devices. By integrating Push Kit, you can send messages to your apps on users’ devices in real time. This helps you maintain closer ties with users and increases user awareness of and engagement with your apps. The following figure shows the process of sending messages from the cloud to devices.
Currently, Push Kit has been supported in mobile phones, tablets, HUAWEI Vision, HUAWEI Watch, and Volvo and Dongfeng Sokon head units.

Huawei Push Kit
How to use Huawei Push Kit?

First, you need to register a Huawei Developer account. You can register it for free from the link below.

Huawei Developer Register
Register to Huawei Developer Portal
Once you create your account and login, create a new project:
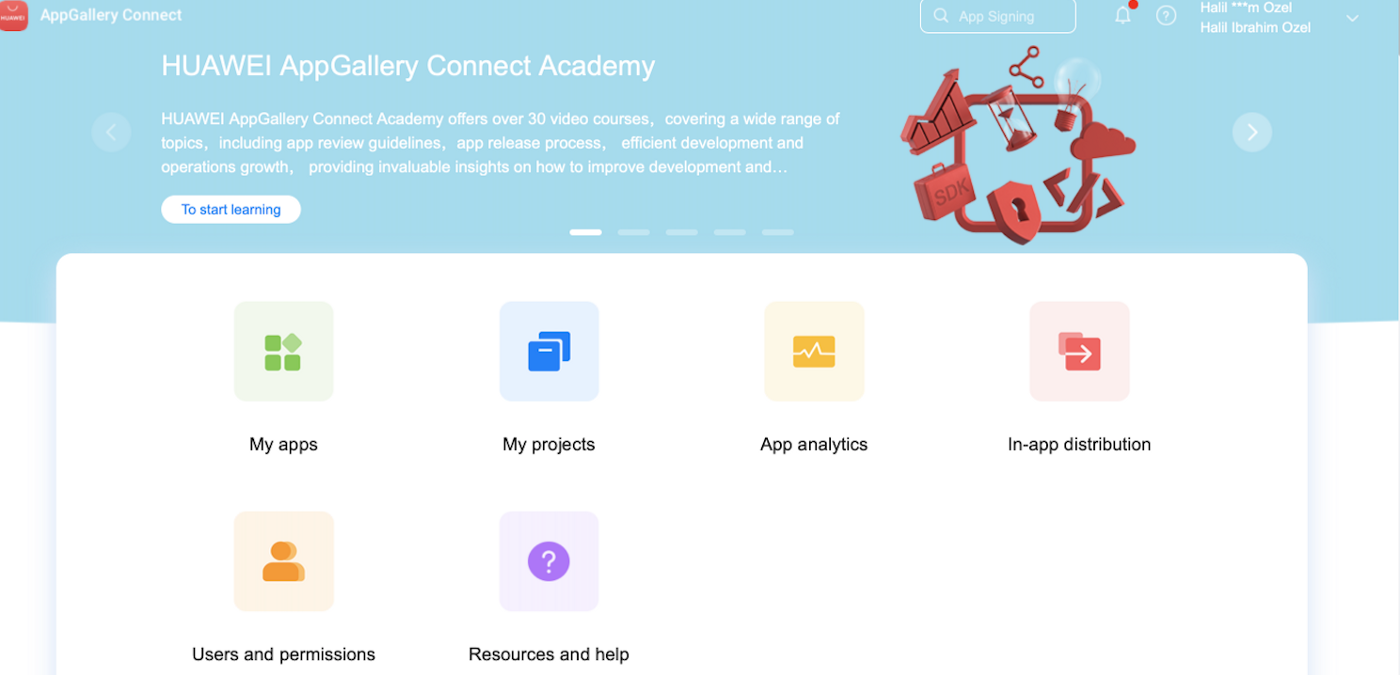
Create a project on Huawei AppGallery
Then, create an application inside your project:

Create an app inside your project
Adjust the settings of the application. Since it is a sample project, I share all the information with you. Your settings will look like:

Huawei Application Settings
Then, we need to produce SHA-256 certificate fingerprints. We click on the Gradle area on the right in Android Studio.

Gradle setting on Android Studio
Clicking the signingReport button under Tasks, we generate SHA 256 code. We add it to the relevant field in the project settings.

Android KeyStore
We need to activate Push Kit from the Manage API section.

Huawei Manage API
Push Kit Settings will display after we enable it from app settings.

Push Kit Enable
Pick a region suited to your needs. I’ve picked Germany.

Push Kit Location
We can now create an example notification. We fill in the fields below for the notification example.

Create a notification
When we click the test effect button, it will ask us for tokens.
In this step, we will be able to learn the token value we need when we integrate the Push Kit into the application.
Add Push Kit to build.gradle(:app) file
implementation 'com.huawei.hms:push:5.0.0.300'We create a function in Main Activity. We define an instance to get the token value.
 private fun getToken() {
        object : Thread() {
            override fun run() {
                try {
                    val appId =
                        AGConnectServicesConfig.fromContext(this@MainActivity)
                            .getString("client/app_id")
                    val token = HmsInstanceId.getInstance(this@MainActivity)
                        .getToken(appId, "HCM")
                    Log.i("PUSH", "getToken() token: $token")
                } catch (e: ApiException) {
                    Log.e("PUSH", "getToken() failure: " + e.message)
                }
            }
        }.start()
    }
We run the application. The token value is displayed in the log section.

Push Kit getToken()
We put this token value in the field in the Push Kit test.

Push Kit Token
We will test the application with Cloud Debugging.You can run the application by following the below document.
We have done all the necessary actions. Congratulations ? You have developed the first Huawei Push Kit application.

Huawei Push Kit Sample